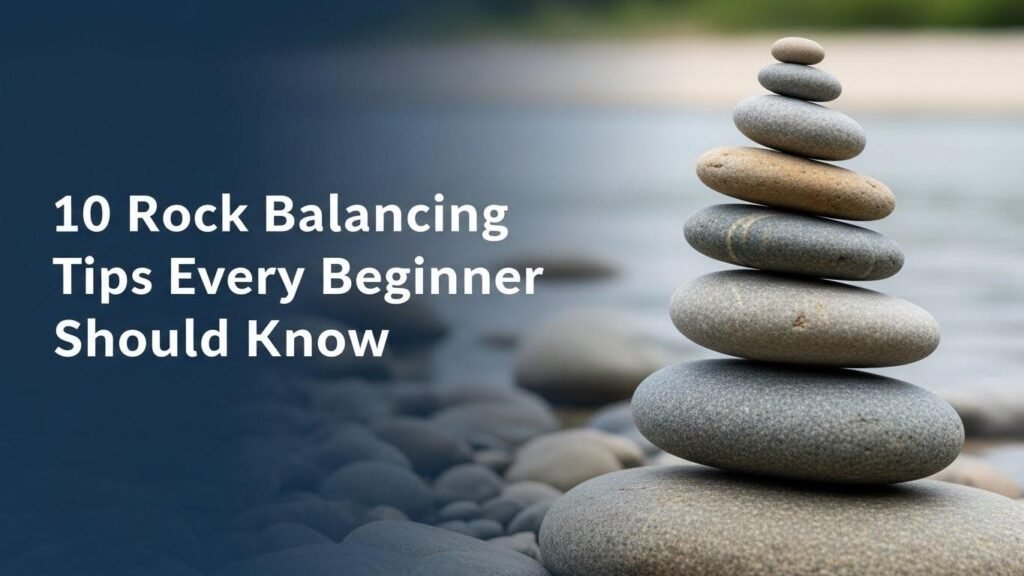
Rock balancing might look impossible when you first see those tall, gravity-defying stacks in nature, but the truth is, anyone can learn it. You don’t need fancy tools, special training, or years of experience. With the right rock balancing tips, a little patience, and an open mind, you can create beautiful stone art that feels both peaceful and rewarding.
Whether you’re just getting started or looking for a smoother learning curve, these 10 essential tips for rock balancing will help you understand the basics and build confidence with each stack.

1. Start With Simple Stacks
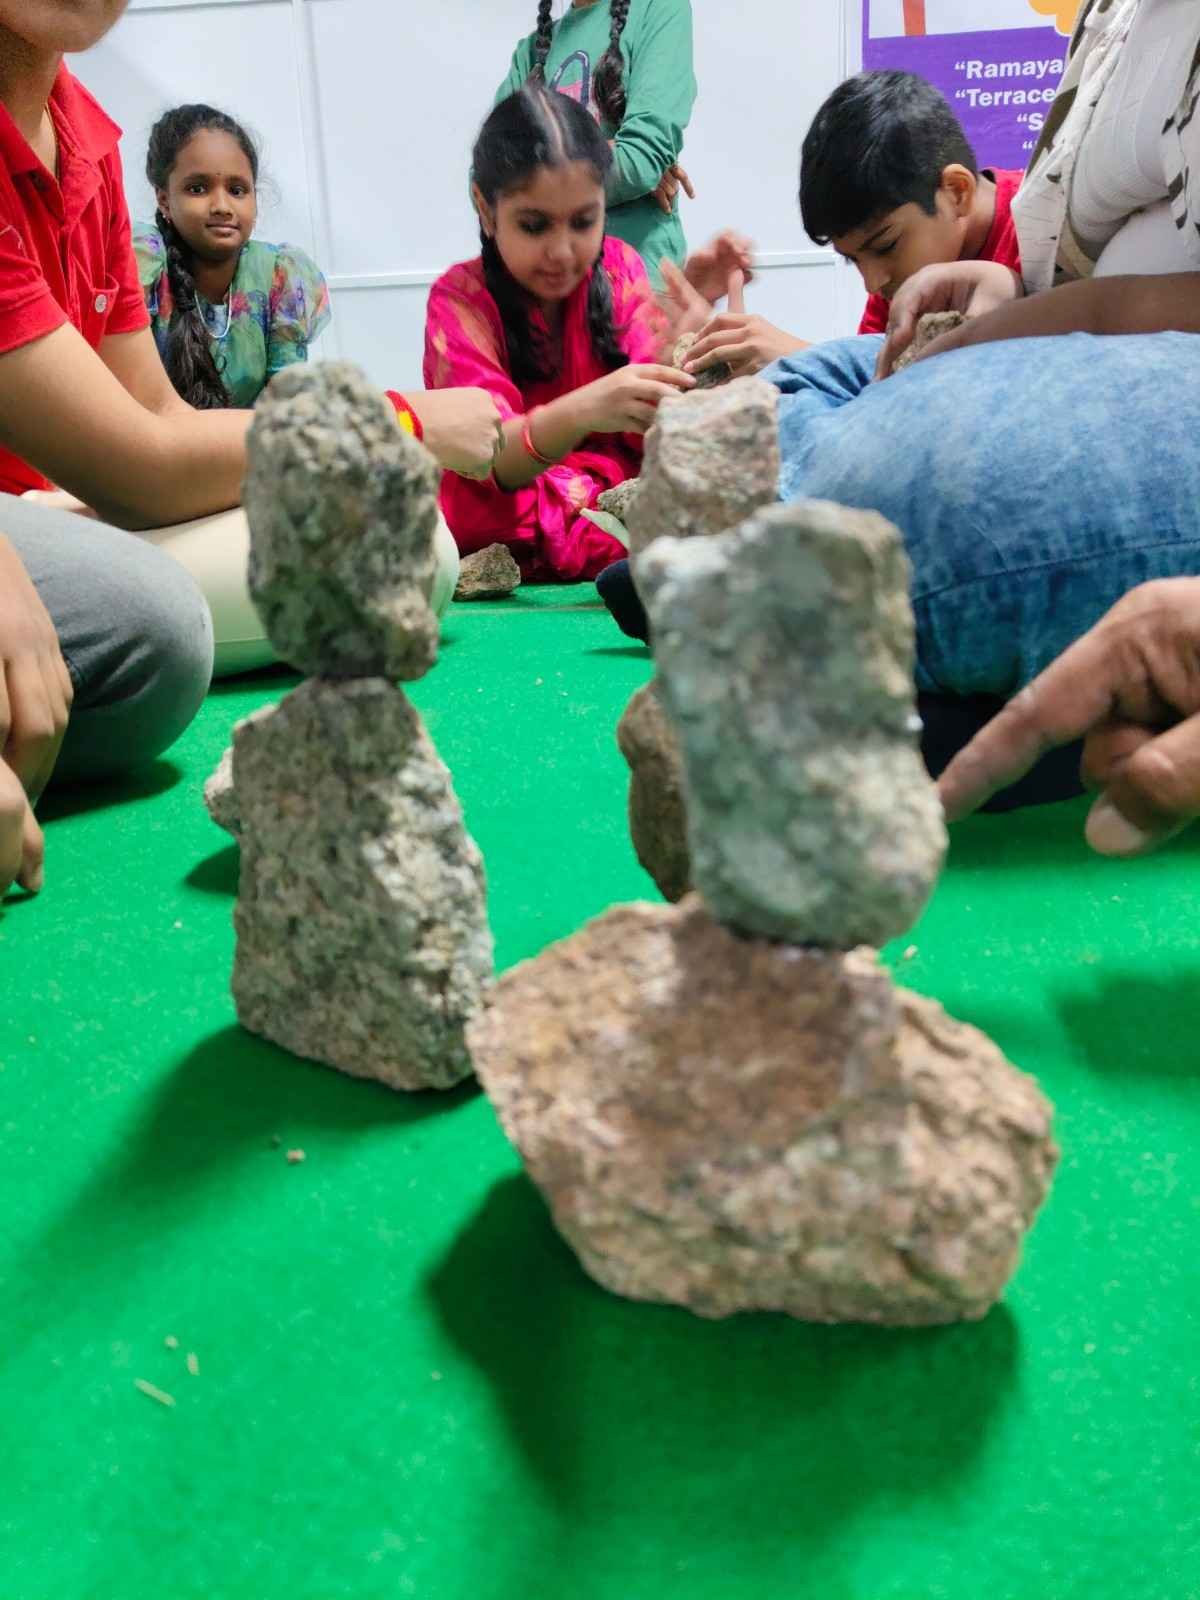
The biggest mistake beginners make is trying complicated formations too soon. Instead, begin with simple two- or three-rock stacks. This lets you learn how to balance rocks without feeling overwhelmed.
Think of it like learning to ride a bike, you master the basics first, then build up.
2. Choose the Right Foundation Rock
Your bottom rock is the foundation of the entire structure. Choose one that is:
- Flat
- Heavy
- Stable
- Wide
A good foundation can make even a tall stack feel secure. This is one of the most important rock balancing tips for beginners because a strong base removes 70% of the struggle right away.
3. Feel the Balance Points (Don’t Guess Them)
If you’re wondering how to balance rocks effectively, the answer lies in the balance point. Every stone has a place where gravity aligns perfectly.
Here’s how to feel it:
- Hold the rock gently between your fingers
- Tilt it slowly in different directions
- Notice when it feels like it wants to “settle”
That tiny moment of stillness is the balance point. Over time, sensing it becomes almost instinctive.
4. Use Rocks With Texture for Better Grip
Smooth rocks look pretty, but they can be slippery. When starting out, use rocks with:
- Rough edges
- Natural grooves
- Flat sides
- Angular shapes
These surfaces create better friction, making your stacks steadier. One of the easiest stone balancing tips is simply to choose grippier stones.
5. Keep Your Hands Relaxed and Move Slowly
Rock balancing is more about patience than strength. If your hands are stiff or shaky, finding the balance point becomes harder. Relax your fingers and move slowly, very slowly.
Rushing causes the rocks to slip, while calm movements help you feel micro-adjustments that lead to a perfect balance.
6. Work With Dry Rocks Whenever Possible
Wet rocks can be slippery and unpredictable. If you’re practicing in rivers or beaches, dry the surfaces with a towel or let them sit in the sun for a moment.
Dry surfaces improve grip and stability, making the whole process far easier, especially for rock balancing for beginners.
7. Use Three Points of Contact
This is one of the most powerful tips for rock balancing:
Every rock should touch the one beneath it at three points.
Why?
Because three contact points create a natural tripod, nature’s most stable structure.
Even uneven rocks can balance beautifully when they connect at three solid points.
8. Pay Attention to Weight Distribution
Some rocks may look large but are lighter than expected. Others may be heavy on one side. Before placing a rock:
- Lift it
- Roll it in your hands
- Feel where the weight is concentrated
This small step helps you understand how to position the rock so it naturally aligns with the stack.
This is especially important when learning how to balance rocks with irregular shapes.
9. Practice in Calm Weather First
Wind, water movement, and unstable ground can make rock balancing harder. Beginners should practice in:
- Calm weather
- Less windy areas
- Stable sand or soil
Once your skills improve, you can challenge yourself with trickier environments, but early on, let nature work with you, not against you.
10. Don’t Get Frustrated: Collapses Are Part of the Process
Even experienced artists lose their balance points sometimes. When your stack collapses, take a breath. Reset the stones. Try again.
Rock balancing teaches:
- Patience
- Mindfulness
- Focus
- The art of slowing down
The more relaxed you are, the easier the stones fall into place. Among all the rock balancing tips, this one truly shapes your experience.
Bonus Stone Balancing Tips for Better Results
Here are a few extra LSI-powered insights to help you improve even faster:
Use Larger Rocks at the Bottom, Smaller at the Top
This creates natural stability and improves height.
Rotate Each Rock Slowly Before Placing It
Different angles reveal new balance points.
Take Breaks When Needed
Fresh hands and a calm mind make balancing smoother.
Listen to the Rocks
Believe it or not, some stones make small “clicks” when settling into place.
Respect Nature
Always practice without disturbing habitats or fragile areas.
Why Rock Balancing Is So Rewarding
Beginners often fall in love with rock balancing because:
- It’s peaceful
- It’s creative
- It’s free
- It connects you with nature
- It builds patience and focus
Every stack is a small victory, something you create with nothing more than your hands and the earth.
Whether you’re doing it for fun, mindfulness, or as an art form, these rock balancing tips will help you develop a deeper connection to the practice.

Final Thoughts: Your Rock Balancing Journey Starts Here
With these 10 essential rock balancing tips, you now have the foundation to create stable, beautiful stacks that bring joy, calmness, and creativity into your life. Remember, rock balancing isn’t about perfection, it’s about presence. Each moment you spend searching for balance brings you closer to mastering this peaceful, nature-based art.
So grab a few stones, find a quiet spot outdoors, and start stacking.
Your journey in rock balancing for beginners starts today.